
American Farriers Journal
American Farriers Journal is the “hands-on” magazine for professional farriers, equine veterinarians and horse care product and service buyers.
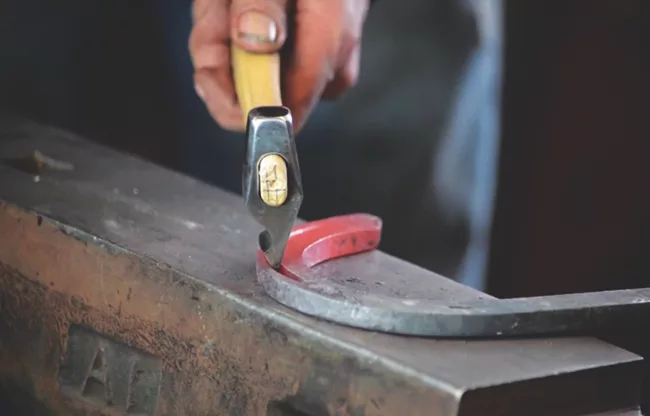
One year, I was at a World Championship Blacksmith contest and the match play semifinalists had to make a 3/8-inch by 3/4-inch, fullered, toe-clipped shoe. The four competitors had 8 minutes to build it. About 4 minutes into this, the generator stopped, so the decision was made to start over.
At this point, Travis Koons of Hemet, Calif., tossed his shoe onto the ground in front of us. All he had left to do was a toe clip. This made an impression on me. How did he do this in only 4 minutes? This got me thinking about how little work remained because of how he fullered it. The difference is easy to see.
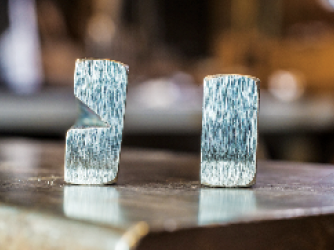
Figure 1
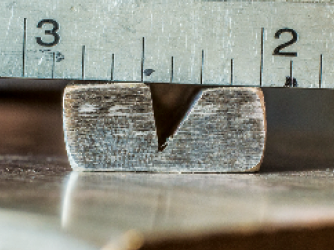
Figure 2
I’ll begin with the 3/8-inch by 3/4-inch stock. In Figure 1, the stock on the left had a fuller run through it without a bit of prep work or modifications. Compare the two so you can notice how much distortion occurs simply from driving the fuller into the stock.
Taking another look at that fullered stock (Figure 2), it is no longer 3/4 inch, but falls about 13/16 inch. Also note how you have the distortion going out to the corner.

Figure 3
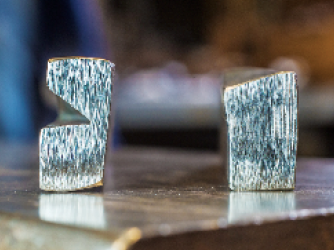
Figure 4
So you’ll often hear clinicians discussing “hem the branch before you begin your fullering.” I’ve already put an angled hem in this stock before I fullered (Figure 3). Hemming at an angle was standard practice and many would say the angle of the fuller…
American Farriers Journal is the “hands-on” magazine for professional farriers, equine veterinarians and horse care product and service buyers.

American Farriers Journal is the “hands-on” magazine for professional farriers, equine veterinarians and horse care product and service buyers.
Download these helpful knowledge building tools

We are here to support you.
We stock a wide range of high-quality products from trusted brands to ensure durability, performance, and reliability in every job you undertake. Our extensive inventory of horseshoe products and farrier tools means you can find everything you need in one place, saving you time and effort. Your satisfaction is our top priority. We are committed to providing excellent customer service, prompt shipping, and hassle-free returns.