A couple of new horses were brought into one of my Saddlebred barns over the summer. The trainer had called me in advance to warn me that their feet were in desperate need of help. He said he didn't know how they were still able to walk, let alone perform. When the horses were brought out, it was apparent that both horses had chronic cases of "unskilled farrier disease."
Jeff Ridley of Leighton, Iowa, was one of the first farriers to earn the therapeutic endorsement from the American Farrier's Association.
Now, I know that one never knows what the previous farrier had to work with. I also know you should "NEVER" find fault. However, sometimes the shoeing work is just so blatantly wrong that you can't help but wonder, "What was he thinking?"
The owner told me she had been struggling with bad feet on these horses for a couple of years, the whole time that they had been in a specific barn. To me, this reinforced my diagnosis of unskilled farrier disease syndrome.
If The Shoe Doesn't Fit ...
In the case of the horse shown in this article, the shoes did not fit the foot. The fact that it was a long-footed horse only exaggerated the adverse effects as the foot struggled to compensate. The foot was allowed to flare and pull away from the laminae. This created the ideal environment for white line problems. The nails pulled on the hoof wall, tearing it up. The foot was left too long and was also padded, accentuating unhealthy anaerobic conditions.
On With The Show
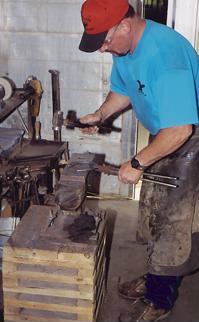
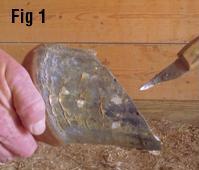
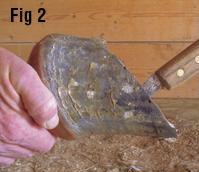
It was the middle of the show season, so I could not do what really needed to be done to get ahead of this situation. Instead we put together a package that was compatible with the foot. We held things together through the season knowing that if the horse threw a shoe, there would be a very good chance that a substantial amount of foot could come off with it, as the hoof was hollow. (See Figures, 1, 2 and 3).
Post-Season Treatment
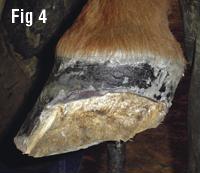
Once the season was behind us, the owner gave me the OK to debride the hoof wall so we could eliminate the anaerobic conditions and return the hoof to a healthy condition.
As you can see in Figure 4, there was a substantial amount of affected hoof.
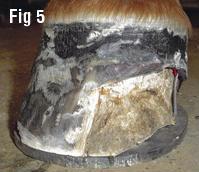
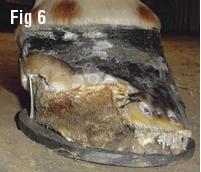
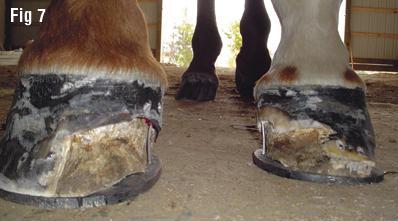
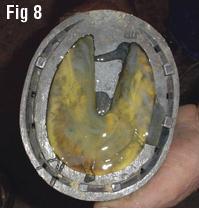
I removed the hoof wall until I found good attachment and healthy white line. Then I prepared a full support shoe and nailed on the appliance. I had a minimal amount of hoof wall to set my shoe on; only a little at the toe and the two heels. Not having many nailing options left, I used a #12 nail to reach hoof wall in the heel area and MX-60s in the toe (Figures 5 and 6). I then used Equi-Pak to offer additional support to the bottom of the sole (Figures 7 and 8).
Adding Protection
Because the entire hoof wall was removed on the medial side of the hoof, I was concerned that the horse could step on the flat exposed steel.
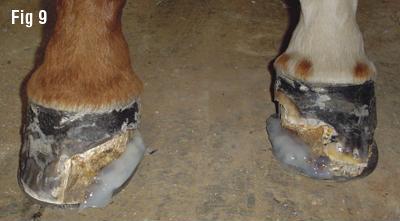
It was for this reason that I applied SuperFast to the bottom portion of the medial foot to create a bevel so that the horse would slide off if he stepped on himself, rather than pull the shoe (Figure 9). I knew that this re-created an anaerobic condition around the distal portion of the hoof, but felt it wouldn't matter as long as oxygen could get to the middle area of the hoof and to the proximal portion.
The distal area will grow out and not have an adverse affect on the foot.


