
American Farriers Journal
American Farriers Journal is the “hands-on” magazine for professional farriers, equine veterinarians and horse care product and service buyers.
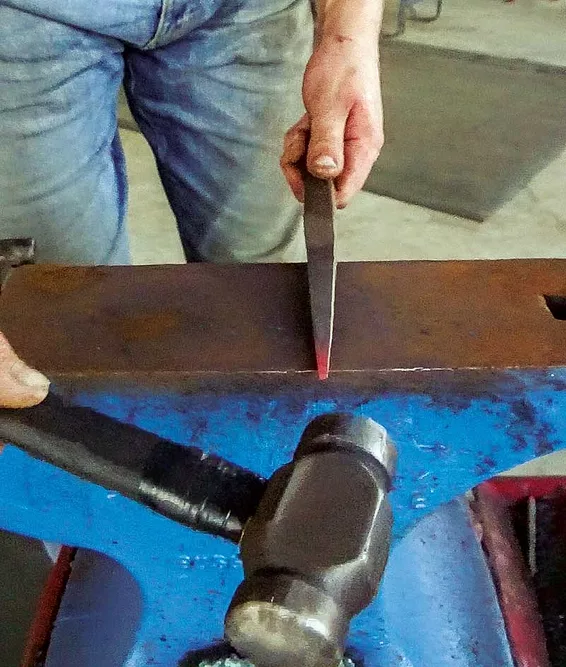
Being able to tune a pritchel is a good skill to have for making shoes. Without a properly tuned pritchel, the nails will not fit the nail holes. That being said, it’s a skill you want to master at your home shop before taking it on the road and apply it in a high-stakes situation. In this article, I’m sharing my process for tuning a pritchel. My ultimate goal in this exercise is to match the pritchel to a punch that was tuned by my American Farriers Team (AFT) teammate Arkansas farrier Adam Fahr. You can read about how he tunes a punch in the article “A Purpose for Every Punch,” which appeared in the March issue of American Farriers Journal
When you tune a pritchel, it must perfectly match the end of your cor-res-ponding punch, that way the pritchel can shear out the exact slug of your punch to fit the shank of the nail. It must be an exact fit. After being used during an AFT practice, the pritchel I reference in the Step-by-Step below has become distorted. My approach is to forge it on all four sides equally because you want to sharpen it to make it smaller, then bump it straight back to get it flat. If it’s not sharp and it’s not flat, it makes a round hole. Nail shanks are square and have sharp corners so the pritchel needs to work like a shear.
…
American Farriers Journal is the “hands-on” magazine for professional farriers, equine veterinarians and horse care product and service buyers.

American Farriers Journal is the “hands-on” magazine for professional farriers, equine veterinarians and horse care product and service buyers.
Download these helpful knowledge building tools

We are here to support you.
We stock a wide range of high-quality products from trusted brands to ensure durability, performance, and reliability in every job you undertake. Our extensive inventory of horseshoe products and farrier tools means you can find everything you need in one place, saving you time and effort. Your satisfaction is our top priority. We are committed to providing excellent customer service, prompt shipping, and hassle-free returns.