Like many things with shoeing equipment, it’s critical to select a hammer handle that’s perfect and efficient for your own use.
When it comes to selecting equipment, shoers often look at what successful farriers are using and mimic their style and shoeing tools. This is often the case even when what they’re using doesn’t suit them just right.
Learn From Mistakes
That’s OK because this is how we learn things to accommodate different techniques, styles and equipment to suit our own way of shoeing and forging.
For a long time, I used a very long, slender hammer handle similar to the one used by New Mexico shoer Craig Trnka. If it worked for him, then it should work for me, right? Wrong!
It took several years, incredibly sore elbows and arm damage which has never completely healed to convince me that I needed to back off and make some changes in my way of doing things. Finally, I realized the need to do those things I was capable of doing with the body and talents God gave me.
I needed a much shorter handle with a slightly larger cross-section than the hammer handle used by Trnka. For me, this type of handle has proven more comfortable, easier to control and is quite durable.
Neither of us is wrong. It’s simply a matter of accommodating the needs of each shoer.
Plenty Of Power
As you know, there’s an incredible amount of available power in a hammer. All you have to do is miss the hot steel on the anvil and let your cheekbone deal with a rebounding hammer to realize how much energy is being used. Equations learned in physics class can give us detailed information about velocity, mass, torque, power and other things related to a hammer striking an object.
If your hammer handle is not right for you, it won’t efficiently do what you need it to do in your forging work.
Very thin hammer handles offer lots of whipping action. The rebound impact caused by the whipping action makes it easier to raise the hammer after each blow.
 FIGURE 1: Chris Gregory says it should take at least five good thumps to get a handle completely into the hammer head.
Yet these handles are prone to breaking since they lack the size to withstand your daily workload.
On the other hand, thick handles can be uncomfortable to hold. They don’t offer the rebound effect of thinner handles.
If you shave a hammer handle so it’s comfortable for you to use, it will most likely have the right amount of dimension. Of course, shoers with unusually large or small hands relative to arm length and arm strength are exceptions to this general rule.
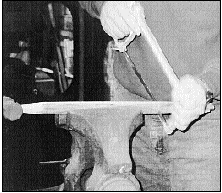
When replacing an older hammer handle, start by shaping the end to fit the hammer head. You want a fit so tight that you have to struggle to get the hammer head onto the shaft. If it’s too tight, the handle may break at the base of the head.
It should be snug enough that it will take five good thumps to get the handle completely into the head (figure 1). Inertia will do much of the work when the hammer shaft is inserted in this manner.
Wagon Wheel Spoke Handles?
It’s only a personal preference, but I buy wagon wheel spokes from an Amish buggy shop to replace my broken hammer handles. It’s important to select wood that isn’t bent or bowed, has a tight end-grain, doesn’t contain knots and offers as straight a grain as possible throughout its entire length.
Don’t be in a rush when selecting the best piece of wood for a hammer handle. Expect only 40 percent of the wood to meet your handle needs.
Don’t be hasty or careless in selecting the wood, since you want a handle that will last and work well for you.
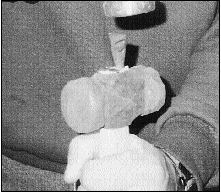
After the head is attached to your handle, cut the handle to the desired length—which is 13 inches in my case (figure 2) —and put in the hammer wedges I make from scrap bar stock (figure 3). The wedges should be placed to fill any gaps between the top of the handle and the inside of the hammer eye.
If you have a perfect fit, place the wedges parallel, using three smaller wedges to make a triangle, or purchase conical wedges.
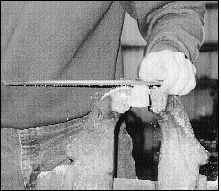
Now it’s time to rasp the hammer handle to the desired dimension. Keep the cross-section of the handle squared up with the hammer head (figure 4). Finish the handle with the smooth side of your rasp. Don’t use sandpaper as sanding will make the handle too smooth.

At this point, light your gas forge and let it run for several minutes to warm the liner. Place your hammer head and handle into the fire for a few seconds until the exposed wood is charred. Then turn it around and char the remainder of the handle.
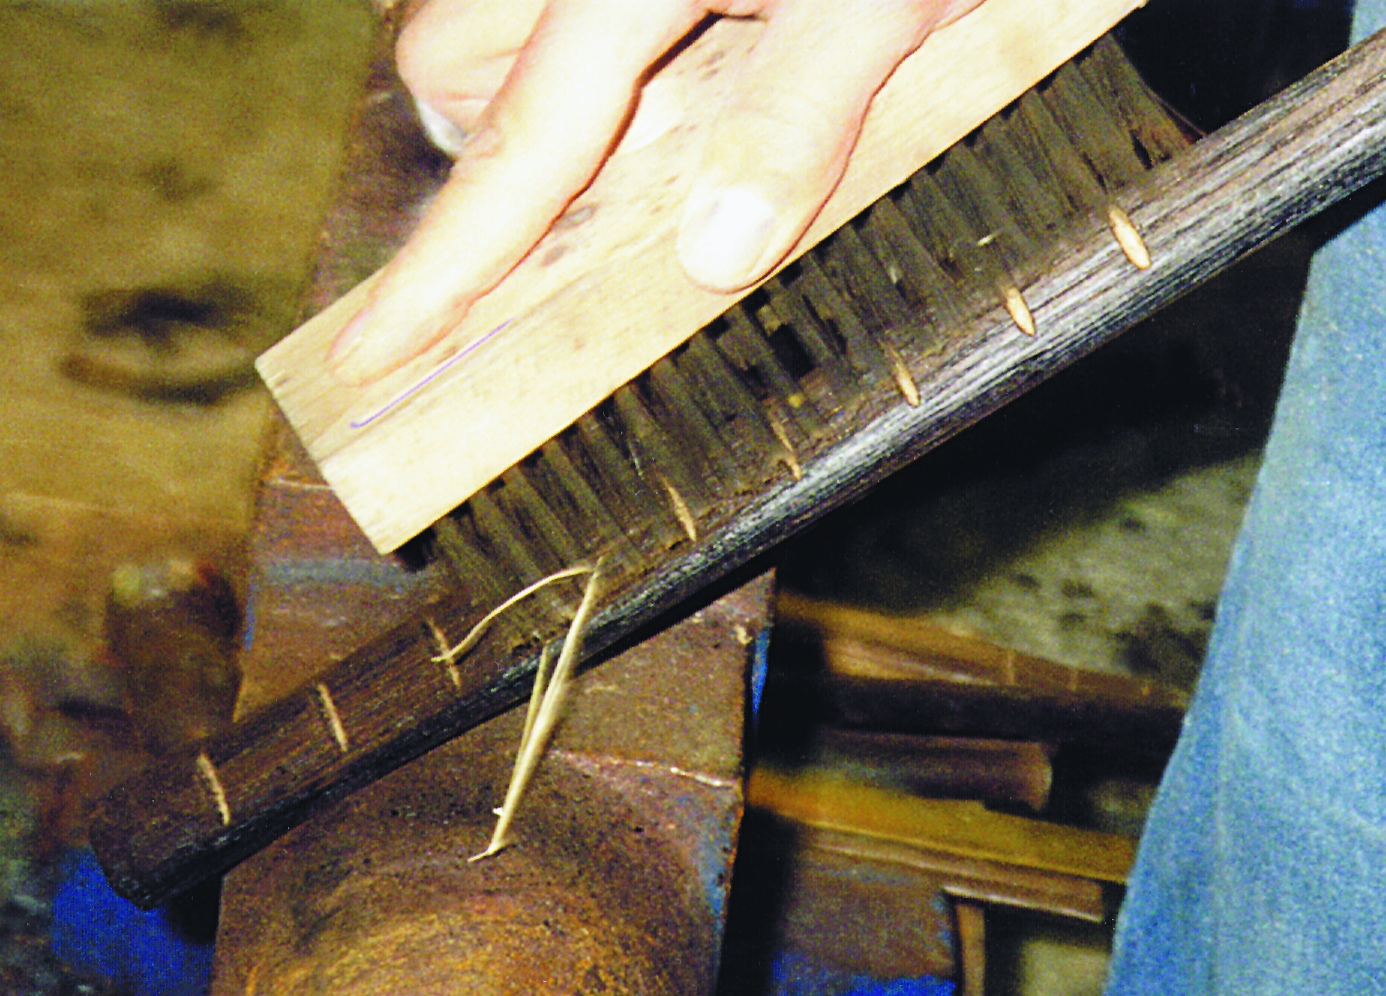
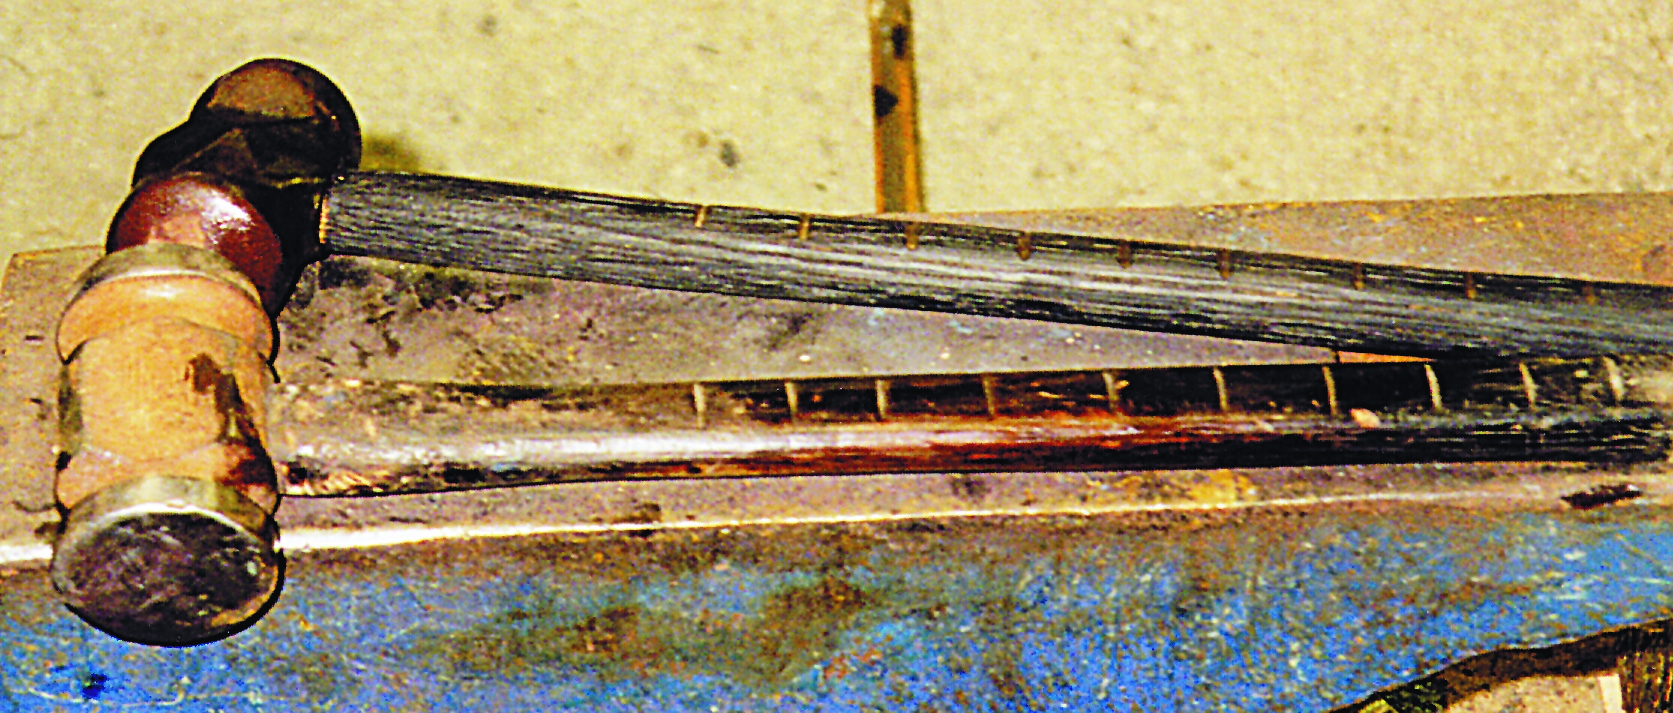
While few farriers take this next step in customizing a hammer handle, I rasp small notches along the width of the handle one inch apart (figure 5). These notches give my hammer handle a better grip.
The next step is to use a soft wire brush to remove the majority of the burned outer wood surface (figure 6). This takes the place of sandpaper by burning off the splinters, yet still leaves a slightly rougher texture.
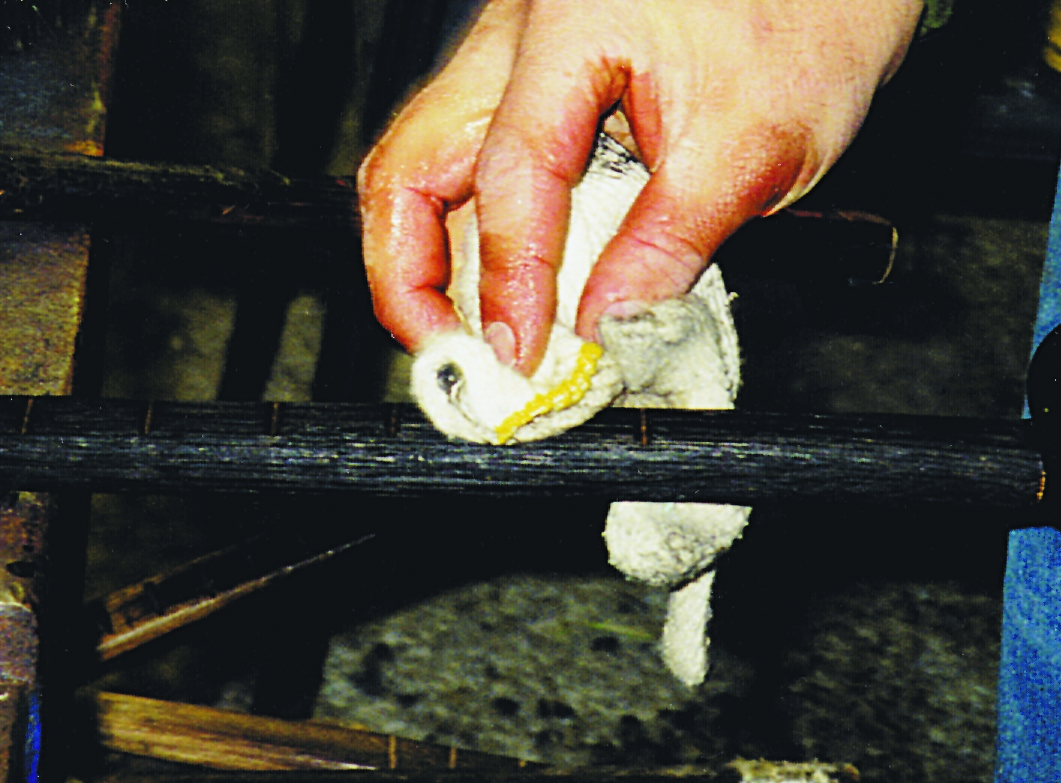
Rub the handle with a mixture of 50 percent new turpentine and 50 percent linseed oil (figure 7). New Mexico blacksmith Frank Turley claims turpentine helps pull the linseed oil into the wood.

Using anti-freeze as a hammer handle treatment was common in the past, but is not a healthy option. Your hand can absorb the poisonous anti-freeze while you are forging or shoeing.
After applying the turpentine and linseed oil mixture, run the handle through the forge to increase the penetration of oil and turpentine.
Let your hammer handle cool down before wiping it dry with a rag (figure 8). You should now have a handle that is comfortable, durable and useable (figure 9).


