
American Farriers Journal
American Farriers Journal is the “hands-on” magazine for professional farriers, equine veterinarians and horse care product and service buyers.
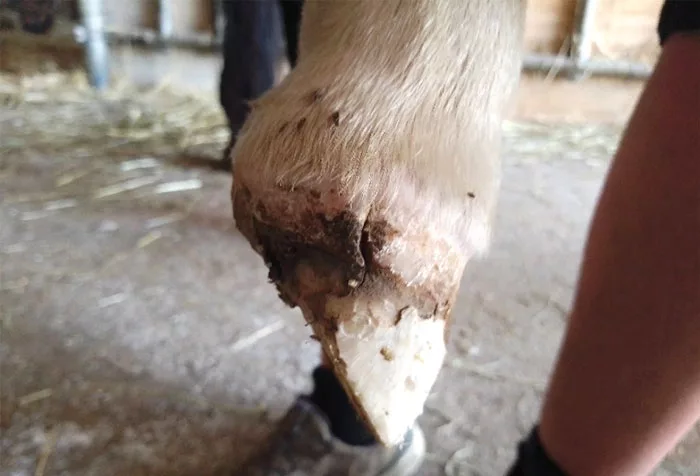
Clubfoot is a congenital or acquired distal interphalangeal flexural deformity of the toe. In general, a clubfoot can be defined as a hoof that meets the ground at an angle greater than 60 degrees.
This limb deformity occurs with an upright or straight tubular appearance of the foot combined with narrow and contracted heels, giving a “club-like” look. The degree of clubfoot and the clinical presentation can range from a mildly upright and a small hoof with a dorsal hoof wall angulation more than 60 degrees to a toe that is buckled forward with an angle greater than 90 degrees at the distal interphalangeal joint (coffin joint)…

American Farriers Journal is the “hands-on” magazine for professional farriers, equine veterinarians and horse care product and service buyers.

American Farriers Journal is the “hands-on” magazine for professional farriers, equine veterinarians and horse care product and service buyers.
Download these helpful knowledge building tools

We are here to support you.
We stock a wide range of high-quality products from trusted brands to ensure durability, performance, and reliability in every job you undertake. Our extensive inventory of horseshoe products and farrier tools means you can find everything you need in one place, saving you time and effort. Your satisfaction is our top priority. We are committed to providing excellent customer service, prompt shipping, and hassle-free returns.