American Farriers Journal
American Farriers Journal is the “hands-on” magazine for professional farriers, equine veterinarians and horse care product and service buyers.
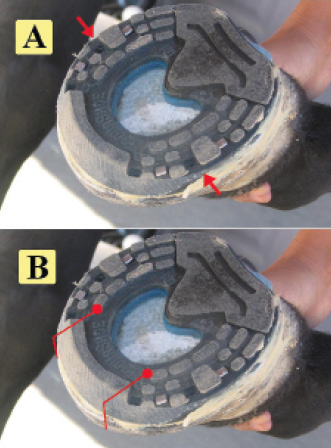
Figure 1: Glued on, with two nails set on each side. The bevel starts out quite wide, from the red arrows in A, with the main part of the bevel in the area indicated in B.
This article presents a brief set of guidelines for the best success when applying an EponaShoe.
The use of this shoe is not all that different from conventional metal shoes. It’s not rocket science, but after 10 years of use on horses, we have learned that there are some important differences between how to apply metal and how to apply EponaShoes.
We have distilled those differences down to the following eight points.
Figure 1 shows an example of a properly set EponaShoe. The shoe was glued on and set with two nails on each side. Packing was also used.
The EponaShoe helps you avoid peripheral loading because it has a built-in frog support. Through using packing, we can also partially load the sole (or not, depending on how packing is used).
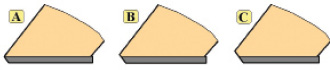
Figure 2: From small bevel (A) up to large bevel (C) EponaShoe allows you to choose the size of the bevel to achieve your goals. Our advice is that for the average hoof, (B) is the right amount. (A) is too little, and (C) is too much. An “upright” hoof we might use (A), and a long-toe, low-heel horse we might use (C).
We recommend keeping the excess wall length…
American Farriers Journal is the “hands-on” magazine for professional farriers, equine veterinarians and horse care product and service buyers.

American Farriers Journal is the “hands-on” magazine for professional farriers, equine veterinarians and horse care product and service buyers.
Download these helpful knowledge building tools
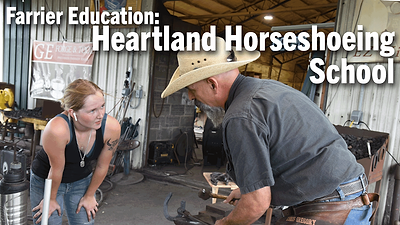
Farriery requires knowledge and skills to provide proper equine hoof care. In this series, sponsored by VICTORY, American Farriers Journal visits Heartland Horseshoeing School in Lamar, Mo. In this edition, Chris Gregory discussed his journey to becoming an educator, his focus in teaching farrier students and the state of farrier education.